How to Repair Scratched Leather: A Complete Guide
Share
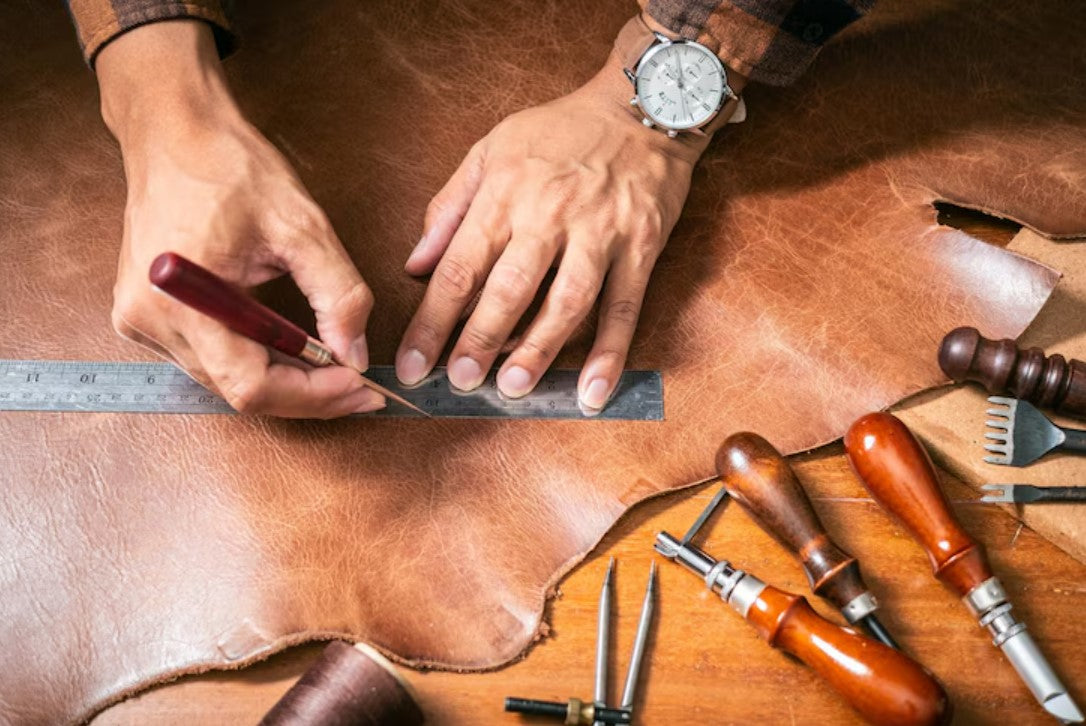
Leather is more than just a material—it's a statement of elegance, a testament to durability, and a mark of timeless style. Whether it’s your beloved leather jacket, a cherished handbag, or the sofa that’s seen a thousand stories unfold, leather items deserve the love and care we often reserve for our most treasured possessions. But what happens when life leaves its mark—specifically, an unsightly scratch?
Before you panic or toss your scratched leather piece aside, take a deep breath. The good news is that most leather scratches, even deep ones, can be repaired with a little patience, the right tools, and a gentle hand. This complete guide walks you through the steps to bring your leather back to life. Explore best leather jackets in USA here.
Understanding Leather and Its Sensitivity
Before diving into the repair process, it's important to understand what makes leather both luxurious and vulnerable. Leather is made from animal hide and is either finished (with a protective top coat) or unfinished (more natural but more prone to damage). Scratches appear when the leather's surface is disturbed, which can happen from fingernails, keys, pet claws, or even just regular wear and tear.
The depth and severity of a scratch determine the approach to repair. Light surface scratches are often fixable with items you may already have at home. Deeper scratches or gouges, however, might need a more thorough restoration process.
Step-by-Step Guide to Repairing Scratched Leather
Step 1: Assess the Damage
Begin by inspecting the scratch. Is it superficial or deep? Light scratches usually look like a change in texture or color, while deeper ones may cut into the leather and feel rough to the touch. Understanding the severity helps you choose the right solution.
Step 2: Clean the Surface
No matter how minor or severe the scratch is, the first step is always to clean the area. Dirt and oils can interfere with the repair process.
You’ll need:
- Mild leather cleaner or a mix of water and white vinegar
- A soft microfiber cloth
How to clean:
- Dampen the cloth with the cleaning solution.
- Gently rub the scratched area in a circular motion.
- Wipe away any residue with a dry part of the cloth.
- Let the leather air dry completely before proceeding.
Step 3: Fixing Light Scratches
For surface-level scratches, leather’s natural oils can often do the trick. Here are a few home remedies that might surprise you with their effectiveness:
Option A: Leather Conditioner
- Apply a small amount of leather conditioner to a soft cloth.
- Gently rub it into the scratched area in circular motions.
- Let it sit for a few minutes, then buff with a clean cloth.
- Repeat if necessary.
Option B: Olive Oil or Baby Oil
- If you don’t have leather conditioner handy, olive oil or baby oil can work in a pinch.
- Dab a few drops on a cotton swab or soft cloth.
- Rub gently into the scratch.
- Wait an hour and wipe away excess oil.
- Use sparingly to avoid staining.
Option C: Petroleum Jelly
- Apply a small amount of petroleum jelly to the scratch.
- Let it sit for several hours or overnight.
- Wipe clean and buff gently.
These methods can help the scratch blend back into the surrounding leather by moisturizing and softening the affected area.
Step 4: Repairing Deep Scratches or Scuffs
For deeper scratches where the leather is actually cut, you’ll need to go a step further with specialized products.
You’ll need:
- Leather filler or repair compound
- Palette knife or cotton swab
- Leather dye that matches the color of your item
- Leather sealant
How to apply:
- Apply the leather filler: Using a palette knife or a cotton swab, carefully apply a thin layer of leather filler into the scratch. Smooth it out so it’s level with the leather surface.
- Let it dry: Allow the filler to dry completely. You may need to apply 2-3 layers for deeper gouges, allowing each layer to dry before the next.
- Color the repair: Once the filler is dry, apply leather dye that matches your item’s color. Use a sponge or cotton pad to blend the dye into the surrounding area.
- Seal the repair: Finish by applying a leather sealant to protect the area and keep the dye in place. This helps restore the sheen and durability of the surface.
Extra Tips for a Flawless Finish
- Test before you treat: Always test oils, dyes, and fillers on an inconspicuous area to avoid ruining your leather.
- Don’t overdo it: Less is more when it comes to applying oil or dye. Build up slowly for a more natural look.
- Match colors carefully: Use a color chart or consult the manufacturer to ensure the dye matches your leather precisely.
- Avoid heat drying: Never use a hairdryer or heater to speed up drying—it can cause leather to shrink or crack.
When to Call a Professional
If the scratch is too large, or the leather item is a high-value piece like a designer bag or antique furniture, it may be worth consulting a leather repair specialist. They have the tools and expertise to make almost any damage disappear.
Preventing Future Scratches
As the old saying goes, “an ounce of prevention is worth a pound of cure.” To keep your leather items scratch-free:
- Store items properly (no sharp objects nearby).
- Keep pets' nails trimmed if they’re around leather furniture.
- Use a quality leather conditioner every few months.
- Avoid direct sunlight and excessive moisture, both of which can dry out leather and make it more prone to damage.
Conclusion
Scratches on leather may feel like the end of the world—especially when they mar a favorite piece—but with the right care and tools, most blemishes can be smoothed away or rendered nearly invisible. Whether you opt for a quick DIY fix or a detailed repair job, the key is to act promptly and handle the leather gently.
A well-loved leather item carries character, and sometimes a small imperfection only adds to its story. But when you want to restore it to its former glory, now you know exactly how to do it—with confidence, creativity, and care.